Friday, November 4, 2011

Happy Halloween :)


Halloween is my favorite holiday. Some years, i go all out and make themed foods all days, handcmake costumes, decorate and all that. Some years i don't do as much, this was one of those years. Halloween fell on Monday, and with it being a school night i had a hard time totally getting into it.
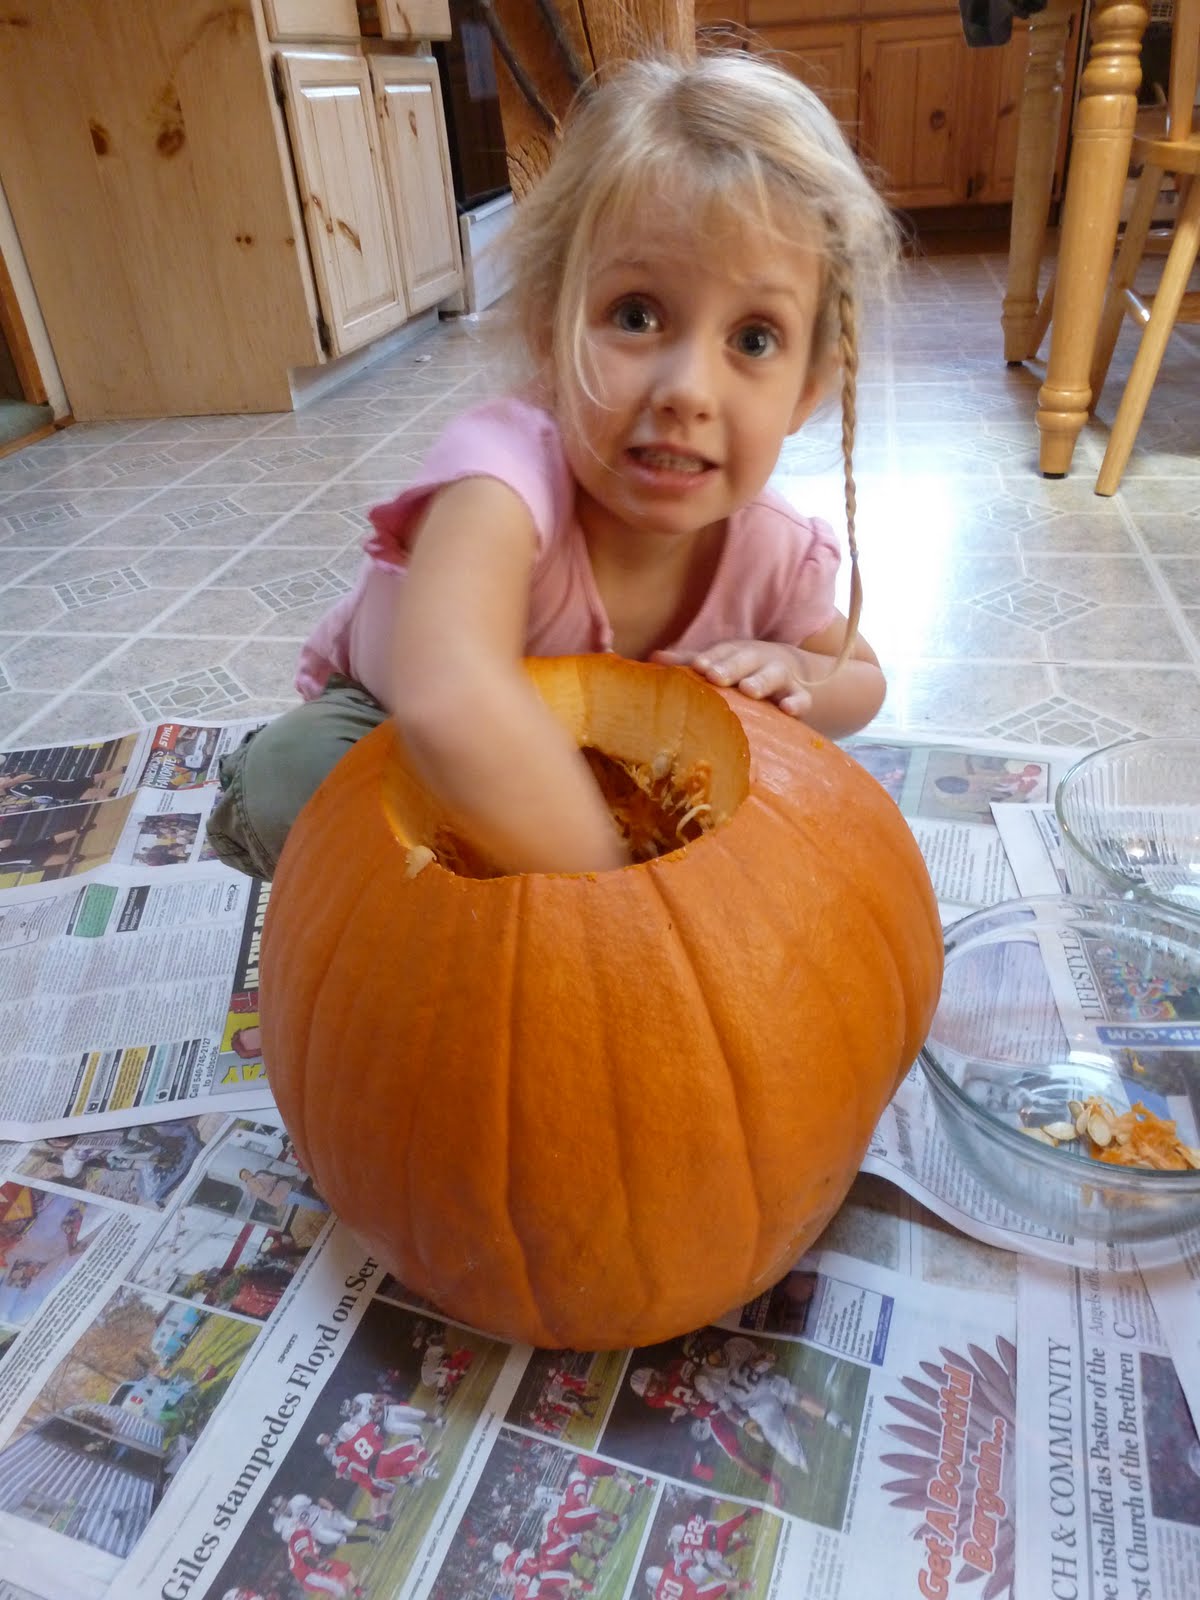
We did our pumpkin carving on the weekend, roasted seeds and i made a harvest stew served inside a pumpkin. i failed to get a picture of it, but it was delicious. i used veggies from the garden, red potatoes, sweet potato, onion, carrots, turnip, garlic and a yellow beet. Chopped them up and saute'd them in EVOO and then added some organic veggie broth. Let it simmer a while. i diced up a red and a yellow tomato, and add a couple handfuls of kale shredded. Then i added a can of garbonzo beans..and let it cook until everything was tender.
i roasted the pumpkin separately, and used it to serve the soup in. YUm!

We had cheese quesadillas for lunch. These were super easy, i used a pumpkin cookie cutter and cut the jack-o-lantern face with a sharp knife.

For dinner we had 'candy corn' mini pizzas. These were made by placing mozzarella cheese in the center, and chedder cheese all around it. Then i spooned a little ring of pizza sauce over some of the cheddar and baked it.

This was my daughter's costume this year. Tinkerbell on a toadstool. :) Several years ago, i made my son a gnome on a toadstool after seeing it in the Family fun magazine. It was such a fun costume, i thought it'd be a good way to spice up the Tinkerbell costume Sage wanted to wear. The toadstool was made using materials i already had here at home, and the costume was a garage sale/goodwill find that my mom had picked up. Hee hee. i think it turned out pretty cute.


We took the kids trick or treating in Hillsville at the 'Safe Halloween'. My boy dressed up as a dementor. It was a quick, throw together costume that required a lot of pins to keep it together. :) i really love that HIllsville does the 'Safe Halloween'. All the area businesses pass out candy, and treats. Almost all the candy has a tag/business card letting you know where it is coming from. Many times the businesses include a coupon or discount for the parents.

The county gave out candied apples to everyone. How generous!! There were also several churches and groups that were giving out free donuts and hot chocolate. Besides candy, the kids received coupons for free frosty's (Wendy's), water bottles from the Town of Hillsville, local apples and bags of pretzels. The kids get the fun experience of Halloween, but they really didn't get an overwhelming amount of candy.

This year they had live music, which was new. They always have a haunted house, a hay ride and two bounce houses set up for the kids.


They also have free carnival games. The prizes are silly junk, but the kids have a blast.
i know i've said it before, but i really love that the community puts this together every year. We usually attend the Dugspur carnival as well, but totally missed it this year.

Hope your Halloween was just as wonderful!

Monday, October 31, 2011

Indian Valley Fall Festival.

i really don't know when life got so busy. The last month has flown by and the idea that the holidays are coming up...has me terrified! i am not ready for all that!!
Since i haven't posted much on here this month, i thought i'd share with you what we have been up to lately. You can expect a few catch up posts over the next week or two.

Last weekend the kids elementary school had a fall festival. They were looking for craft vendors, and we signed up to have a table. It was very small and we didn't really expect to sell anything. We signed up more just to support the school and show some of the locals what we do. i spent about two weeks cramming trying to get all of my unfinished projects finished up.

Kenan also made up a few extra things for the festival, holiday ornaments, glass pens and a few beads and pendants.

i was suprised how much stuff i actually have!! My side of the table was looking a bit cluttered, i had so much stuff packed on there. i made up over 24 bendy dolls, had 3 waldorf dolls, and 4 rag dolls, and a handful of other misc dolls, crocheted goods and jewelry. :)

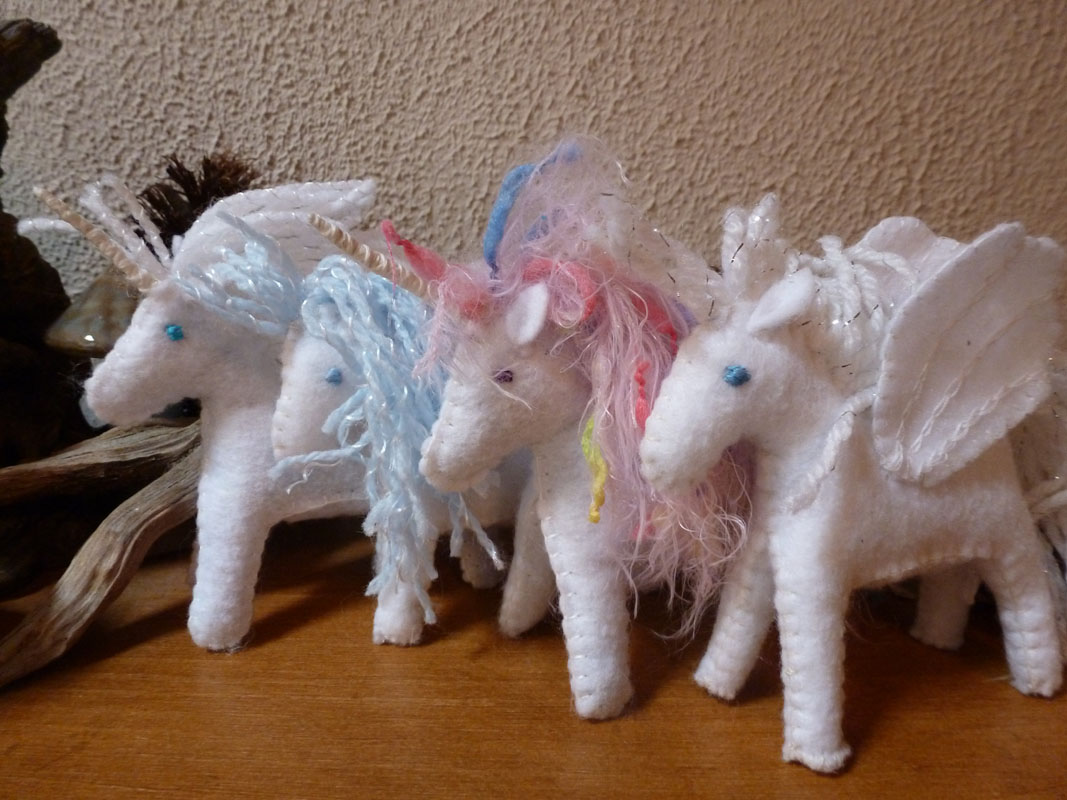
just showing off a few of the things i have. These items are all still available. They can be purchase from here, or on my facebook page and i may eventually put them on etsy if they sit around long enough. i have 2 unicorns and two pegasus. i'm selling them for $18 each. Thay are also available paired in a set with any of my $12 bendy dolls for $25.

Kenan made up a bunch of these beautiful hand blown glass icicle ornaments. He has quite a few left and is selling them for $10 each, 2 for $18 or 3 for $25. $2.50 shipping on all orders.

i had these dolls on display. i keep adding things to them, and haven't officially posted them for sale yet. hee hee. Feel free to inquire though. i need to sell them eventually to pay for the 10lbs of wool i just bought. :)

i'm working on posting all of my available bendy dolls to my facebook page. i think i have around 20 available for immediate purchase. i have mermaids, fairies, princesses, witches, pirates, wizards and more!


i see these on etsy all the time, and have wanted a set for Sage. So i made her one, and then made a few more. i'm asking $10 for the set of 6. They'll come in a little drawstring bag to keep them in. These are the small size, 3/4" tall.

The festival was from 2-8pm. It was incredibly small, which we expected. We did okay though, and felt great supporting the school. The school put on the festival as an alternative to the traditional fundraisers and raised over $1000, i believe! The kids really had a blast though. They had some games for them with prizes, face painting, hair tinseling and more.

That's it for now, i have tons of pictures to take so i can get some of these goodies list.

Oh..and Happy Halloween!!!

Tuesday, October 18, 2011

Shot Tower and Foster falls.

This past weekend our weather was beautiful. Kenan took Saturday off and went for a drive to admire the changing leaves. We were planning to go hiking at Beaver creek, but instead decided to continue on to the New River trail.

Nice view of Buffalo mountain on our way to the New River Trail. Buffalo mountain is only a few miles from house, and we enjoy hiking up it a couple times each.

We started our hike at the Shot Tower. This shot tower was built more than 150 years ago. It was used to make ammunition for the firearms of the early settlers. Lead was melted in a kettle atop the 75-foot tower and poured through a sieve, falling through the tower and down an additional 75-foot shaft beneath the tower into a kettle of water. The long fall was thought necessary to mold and shape the round shots and the kettle of water at the bottom helped to cushion their fall. We've never been inside the shot tower, but i think they occasionally open it for tours.

Then we headed across the old trestle bridge and wandered along the New river trail towards Foster Falls. We hiked this a few years ago, and really enjoyed it.

The village of Foster Falls was named for an early settler and farmer at the location. It was a product of the iron industry that flourished in the New River Valley of southwestern Virginia in the 19th and early 20th centuries. There are many original buildings from the village still standing. Although, i failed to take any pictures of them this time.

They also now have a livery that rents bikes, canoes, kayaks and tubes. There is a campground right on the river, and a horse stable with horse back rides.

The iron furnace at Foster Falls was constructed in 1881. The furnace ceased operations in 1914.

The trail is beautiful and the hike from the shot tower to Foster falls is less than 3 miles round trip, i believe. It follows the New river, and offers up some beautiful scenery. Despite its name, the New River is considered to be one of the oldest rivers in the world, between 250 million and 360 million years old. It is second in age only to the Nile River, making it the oldest river in N. America.


As usual, all attempts at a nice family picture looks like this. :) i hope your weekend was filled with lots of smiles and laughter.

Monday, October 17, 2011

Rainbow leaf crown

This past weekend we went hiking along the New River Trail. The colors were absolutely gorgeous! i collected leaves during our walk with the intentions of making a few leaf crafts with them.

We don't have any pretty maple trees at our house. The majority of our trees are oak, yellow poplars, hickory and Sassafras. ALthough they get pretty, we do not get the deep reds, purples and oranges that the maples produce.

i collected maple leaves in all the colors of the rainbow, and then i found this beautiful bradford pear leaf that looked like it had been tie-dyed.

When you have leaves in rainbow colors it's really hard not to play with them a bit.

They were so pretty, i couldn't stop taking picture of them. :)

i've never had much luck keeping leaves pretty. i also like the impermanence of them. So i wasn't looking for a way to keep them, just something fun to last the day. Then they can be returned to the compost. i decided to make a simple leaf crown with them. We make leaf crowns every year. They are very easy. I take a piece of construction paper, and cut it into 1 1/2" strips. Then glue two together to make a long strip that fits around your child's head. Then i use hot glue to glue the leaves/flowers/acorns and what ever else in place.

For this one, i just arranged the leaves to make a rainbow. i wanted to use the Bradford pear leaf in the center, but it already lost it's color and turned brown. Once your leaves are glued on, you can glue or tape the ends of the paper together to make a crown.


My girl dressed up in her rainbow fairy dress by Sarah's silks and spent the afternoon dancing...

and spinning.


The rainbow leaf crown was perfect on an absolutely perfect fall day.

Growing Mushrooms from a kit.

A few weeks ago, we tried out a Back to the Roots Mushroom growing kit. These kits allow anyone to grow their own gourmet Oyster mushrooms at home from recycled coffee grounds. The kits contain everything you need to get started.

Inside the box you'll find a bag containing re-cycled coffee grounds with the mushroom spores/roots. The bag is a bit funky looking, as you can see in the picture above. i was kind of expecting something that looked more like coffee grounds...but it didn't. Don't worry, it's supposed to look like that! The kit also comes with a mister, and detailed instructions. The instructions are very simple. You cut a + in the front of the bag and then soak it in a bucket of water for about 24 hours. Then you place the bag back into the cardboard box, punch out the front of the box and place away from direct sunlight. Mist with water twice a day and in a few days you'll see your mushrooms begin to sprout. We started out kit around Sept. 26th.


This photo was taken Oct 2. If you click on it, you'll see a few white patches where they are just beginning to sprout.

Oct. 3rd. It looks a little gross, but you can really see some of the little mushrooms now.

Oct. 4th. They are really starting to pop now!

The kids were totally fascinated with these! They were responsible for misting them each day.
Oct. 5th. Wow! They doubled in size overnight!! They are almost ready to pick. Once the tops turn white and the largest ones measure about 2-3 inches across, you'll want to harvest them.

Oct. 6. Our mushrooms are ready to harvest! These can be stored in the fridge in a plastic bag, for up to 2 weeks. We sliced ours and saute'd them in a bit of butter. We enjoyed some of them on homemade pizza, and then cooked up the rest for an omelet the next morning. They were delicious!!

Once you've harvested your first batch of mushrooms, you can flip your bag over and repeat the process. The Back to the Roots Mushroom kit can grow up to 1 1/2lbs of pearl oyster mushrooms, and will grow multiple crops. Each bag will grow at least two crops, but some have grown 3-4! So you can keep repeating the process until you no longer get mushrooms.

We really enjoyed watching the mushrooms grow. We've started our second batch and they kids are just as excited the second time as they were with the first.

You can purchase your own mushroom kit at Back to the Roots.
They are also now offering replacement kits. So you can grow more mushrooms once your bag is done.
You can also keep up with them and all their latest news here on facebook.

Also, right now...if you post a picture of your mushroom kit on their facebook wall, they will donate a kit to your child's classroom! Very cool!!